Fall Craft Ideas: Thanksgiving Wooden Blocks with Free Printable
I have a Thanksgiving free printable for making these amazing give thanks wooden blocks.
This project takes less than $5 in supplies and is just adorable. You can display it on our mantle, a shelf or even in your dining room. Better yet, let your children help you make the blocks and give them as gifts to family members or teachers.
You Will Need:
- 1 2 x 4 piece of lumber
- paint color of your choice
- small paint brush (my paint came with a built-in paint brush that was attached to the inside of the lid)
- 2 sheets of white paper (I just used regular printer paper)
- free give thanks printable <—download here
- newspaper (for protecting your work space)
- 1-2 oz of Mod Podge (I like to pour mine into a small bowl)
- sponge brush for applying Mod Podge
- raffia (optional)
- hot glue (not needed if you choose not to add the raffia bows)
Cut your wood. If you do not have a saw you can ask them to cut it for you at the home improvement store where you purchase the lumber.
You will need two blocks that are 5 1/2 inches tall and eight blocks that are 3 1/2 inches tall.
Sand them down a little to smooth out the wood a bit. If you want to round the edges you can make them look like this. I went for the more rough look.
Paint the wood. We chose a sample size of paint from made by Martha Stewart. The color is called Cornbread. She has a beautiful collection of fall colors that include names like Heath and Bay Leaf. Really pretty.
You want to make sure you paint all the sides, edges and corners, etc.
Do two coats.
Let the paint dry 100% before moving on to the next step. Drying should only take a few hours.
Print the give thanks printable.
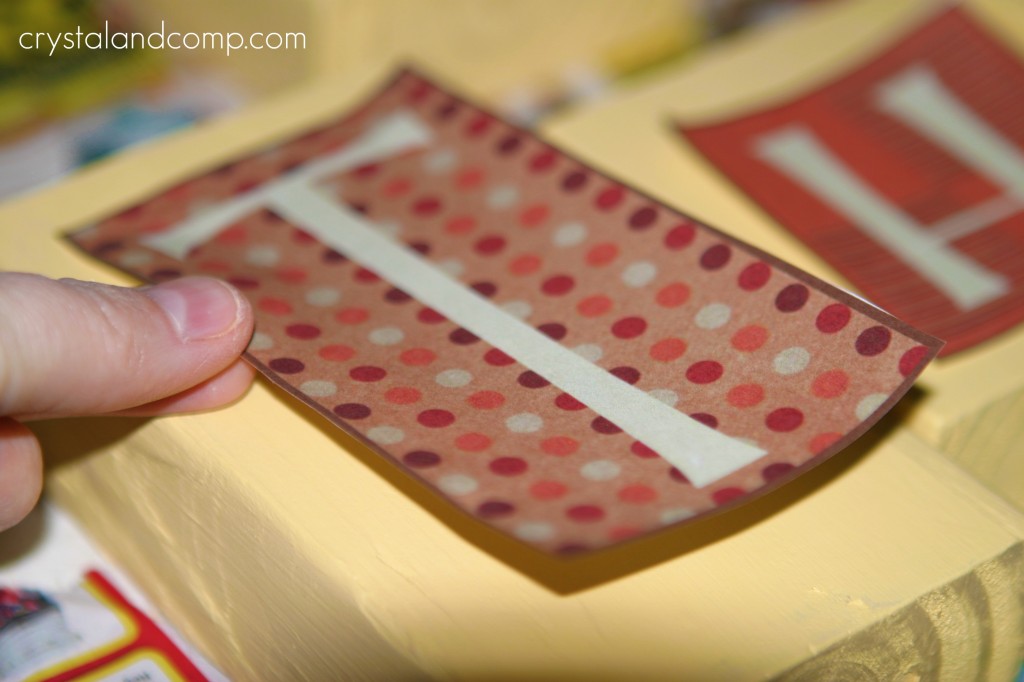
Cute the square letters out.
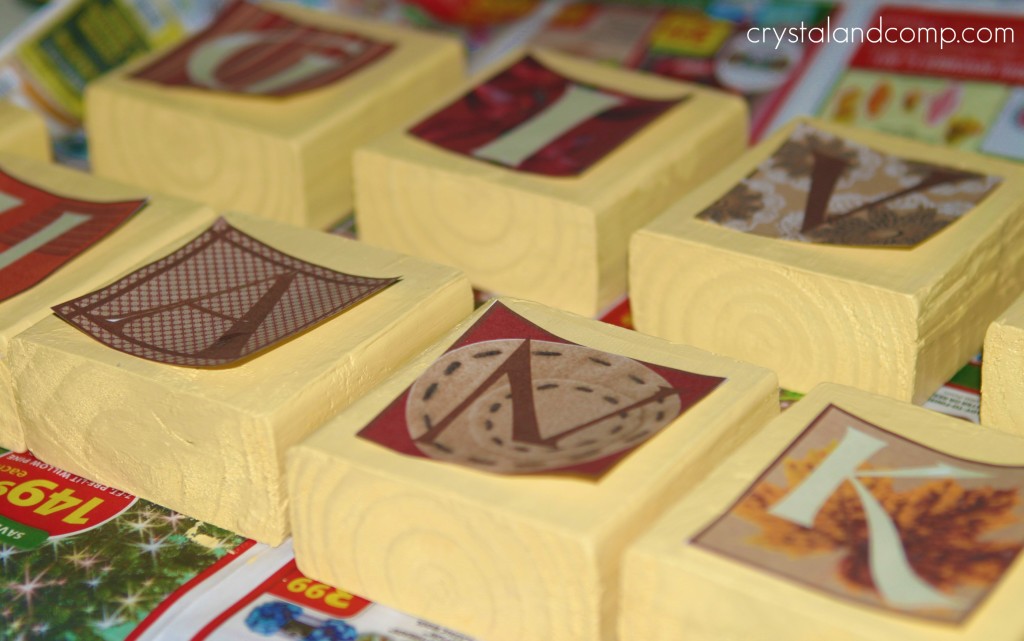
Place the letter cut-outs on your blocks. The letters T and S will go on the two larger blocks.
The remaining letters will go on the eight small blocks.
Pour 1-2 oz. of Mod Podge into a bowl.
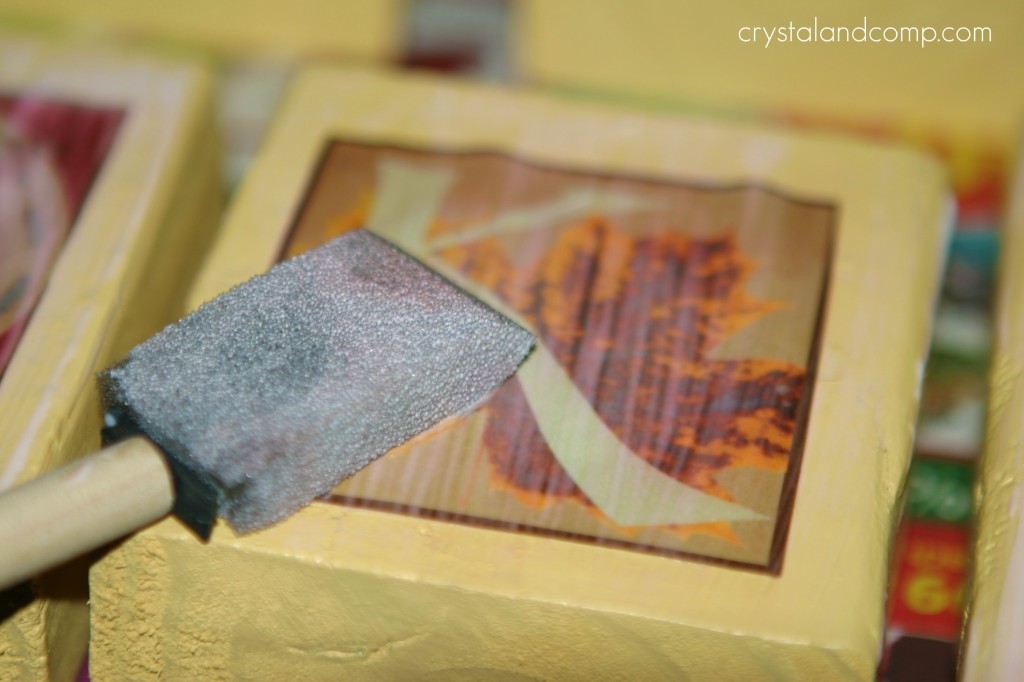
Use your sponge brush to apply to Mod Podge to the paper.
Your printed colors may run a little. Don’t worry, colors that run tone down a lot in the drying process- they will be very pretty when they dry.
You do want the paper to remain smooth- no lumps or crinkles.
Let the Mod Podge dry 100%
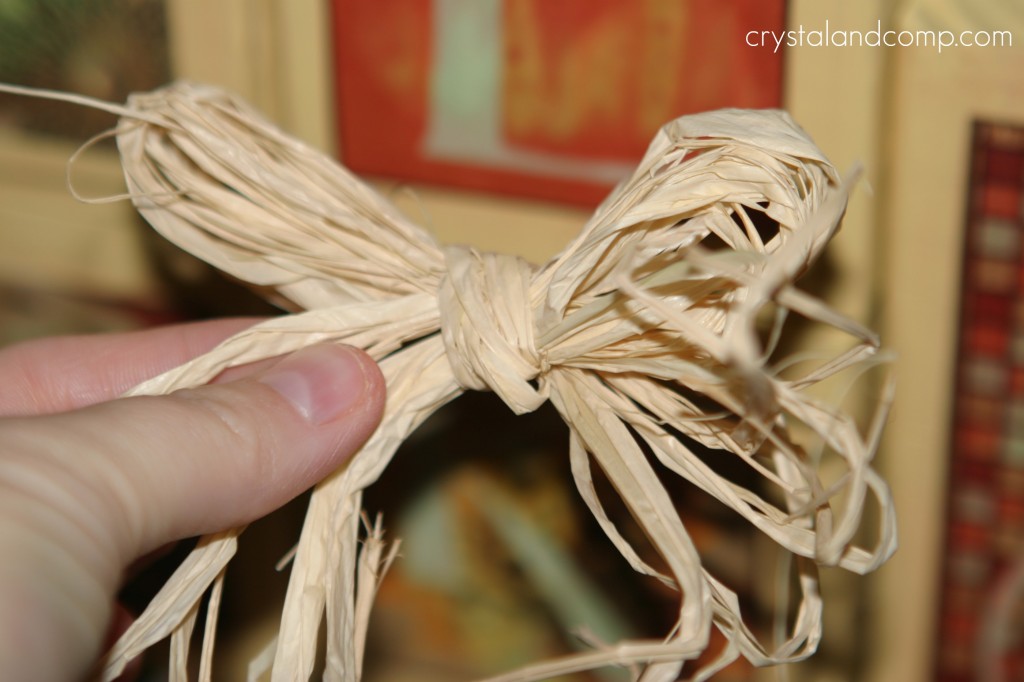
While the Mod Podge is drying, grab some raffia and make two bows. You can omit this step if you want, but I think it gives a really nice touch.
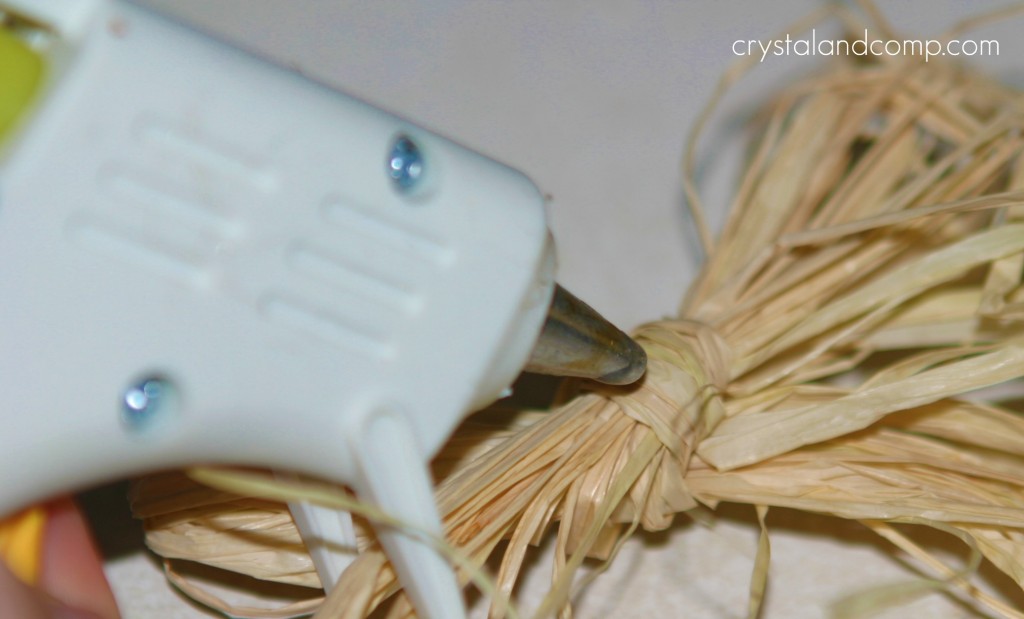
Apply some hot glue to the back of the bow.
Attached one bow to the top of the T block and one bow to the top of the S block.
And you’re done.
I love the way they turned out.
I added mine to a shelf in our living room.
Love the printables I offer my readers? Kelli over at 3 Boys and a Dog makes all of my printables. Her prices are very affordable and her turn around time is very quick. Hop over and check her out.
I am sharing this craft on these resourceful sites: i heart naptime, the girl creative, C.R.A.F.T. craftomatic, crafts keep me sane, skip to my lou, making the world cuter, a southern fairytale, sumos sweet stuff, mad in crafts, tip junkie, tasty tuesday, tempt my tummy tuesday, craft edition, hope studios, todays creative blog, sew much ado, someday crafts, we are that family, blue cricket designs, somewhat simple, paisley passions, house of hepworths, fun to craft, fingerprints on the fridge, tidy mom, a few of my favorite things and it’s a hodge podge life. Looking for a more copious list? Here are over 50 sites to search for and share projects and tutorials.






Really fabulous blocks. Thanks for the printables too.
Thank you so much Renee and I am glad you like the printable! 🙂
I LOVE this! I would love if you would share this at the Crazy Cute link party happening at Between U & Me right now! I’ve got a totally awesome giveaway this week, too!
OOH! AND, I’m your newest follower! 😉
http://www.betweenuandme.com
So cute! I would love if it you would stop by Fall Into the Holidays and link up!
http://redcrowgreencrow.wordpress.com/2012/10/28/fall-into-the-holidays-6/
Katie @ Horrific Knits
How beautiful! Thank you for an excellent tutorial and printable! -Marci @ Stone Cottage Adventures
Love this and cant wait to make it! thanks over at Seven Flowers…Nicole
Nicole- awesome! Excited to see how it turns our for you. This is such an affordable and fun craft. 🙂
Just stopping by to invite you to My Wednesday Linky party. http://diycraftyprojects.com/2012/10/whatcha-work-up-wednesday-linky-party-6.html
This is great! Thanks for sharing it. I am featuring it at somedaycrafts.blogspot.com
I love this idea. I have pinned for inspiration. I saw your link on Hookin Up With Hepworths.
Hey from tessacotton! Love your creation. I would be so thrilled if you would link up to my new, thanksgiving themed linky party, live today!
http://tessacotton.blogspot.com/2012/10/thanksgiving-link-party.html
Woot! We love this post! Thank you for sharing it in our Crafty Showcase last week. We are featuring you on our blog, Facebook, Twitter & Pinterest today.
Here is your feature http://bowdabrablog.com/2012/11/02/feature-friday-bowdabra-top-crafty-showcase-picks-21/#
Stop back over on Saturday and share more of your awesome ideas!
Have a great weekend!
susie at Bowdabra
thanks for linking this up to the Thanksgiving party at Nap-time creations! I love this!! I’m sharing it on my blog today as party of a Thanksgiving craft round up! Hope you will stop by and check it out! http://www.nap-timecreations.com/2012/11/thanksgiving-week-crafts.html
thanks for sharing the printable too!
Thanks so much for sharing this! I’m making them right now – hubby cut the blocks for me and the paint is drying on them. Can’t wait to glue the letters on. The set will go on our mantel. I so appreciate that you shared1 🙂
Oh, Carolyn. That is awesome! I would love to see a picture of how they turn out!
Love this idea! I featured you yet again today! Thanks for linking up!
Kim
I just love these blocks! Super-di-cute. I am printing out the letters and will see if I can get my husband to make me some blocks. 🙂
I just finished these blocks last week, and we love them. My hubby cut the wood for me, and I did the rest. I encourage anyone to do this project; it’s easy and very inexpensive, and the colors in the graphics are gorgeous! We are always frustrated by the lack of home décor for Thanksgiving, and we are so glad to add the blocks to our home.
Crystal, do you by any chance have any such printables to make Christmas or other holiday blocks?
Thank you so much for the free printables, and the beautiful designs and colors.
KarenMO
LOVE!!!! (think sing-songy voice) So cute and looks so rich. Thanks!!!
How did you know I love singy-song voices? ((smile))
Thank you for the lovely printables and easy-to-follow instructions. It came together quite nicely (if I do say so myself). I stained my blocks to give them a rustic look and decorated the opposite side for Christmas with, “Joy to the World”. Happy Holidays!!
Love those blocks. They are all so cute. I will probably make a number of them as presents for my relatives. Thanks for sharing!
Do you happen to have this for Christmas or any other holiday? I made this one and love it, but I want to do another holiday as well.
Thanks
I don’t. Sorry.