
Recycle Broken Crayons and Turn Them Into Party Favors

This is a great project for using up those broken old crayon pieces that you’ve got lying around. It is fun and the kids would enjoy helping. I first found this amazing project over at The Idea Room last year. Since then, I’ve seen it repeated for many holiday occasions all over the internet. (You can also use brand new crayons if you do not have enough broken ones for your project. This is fun either way!)
These would make great birthday party or classroom party favors and you can adjust them to whatever theme or holiday you’re celebrating.
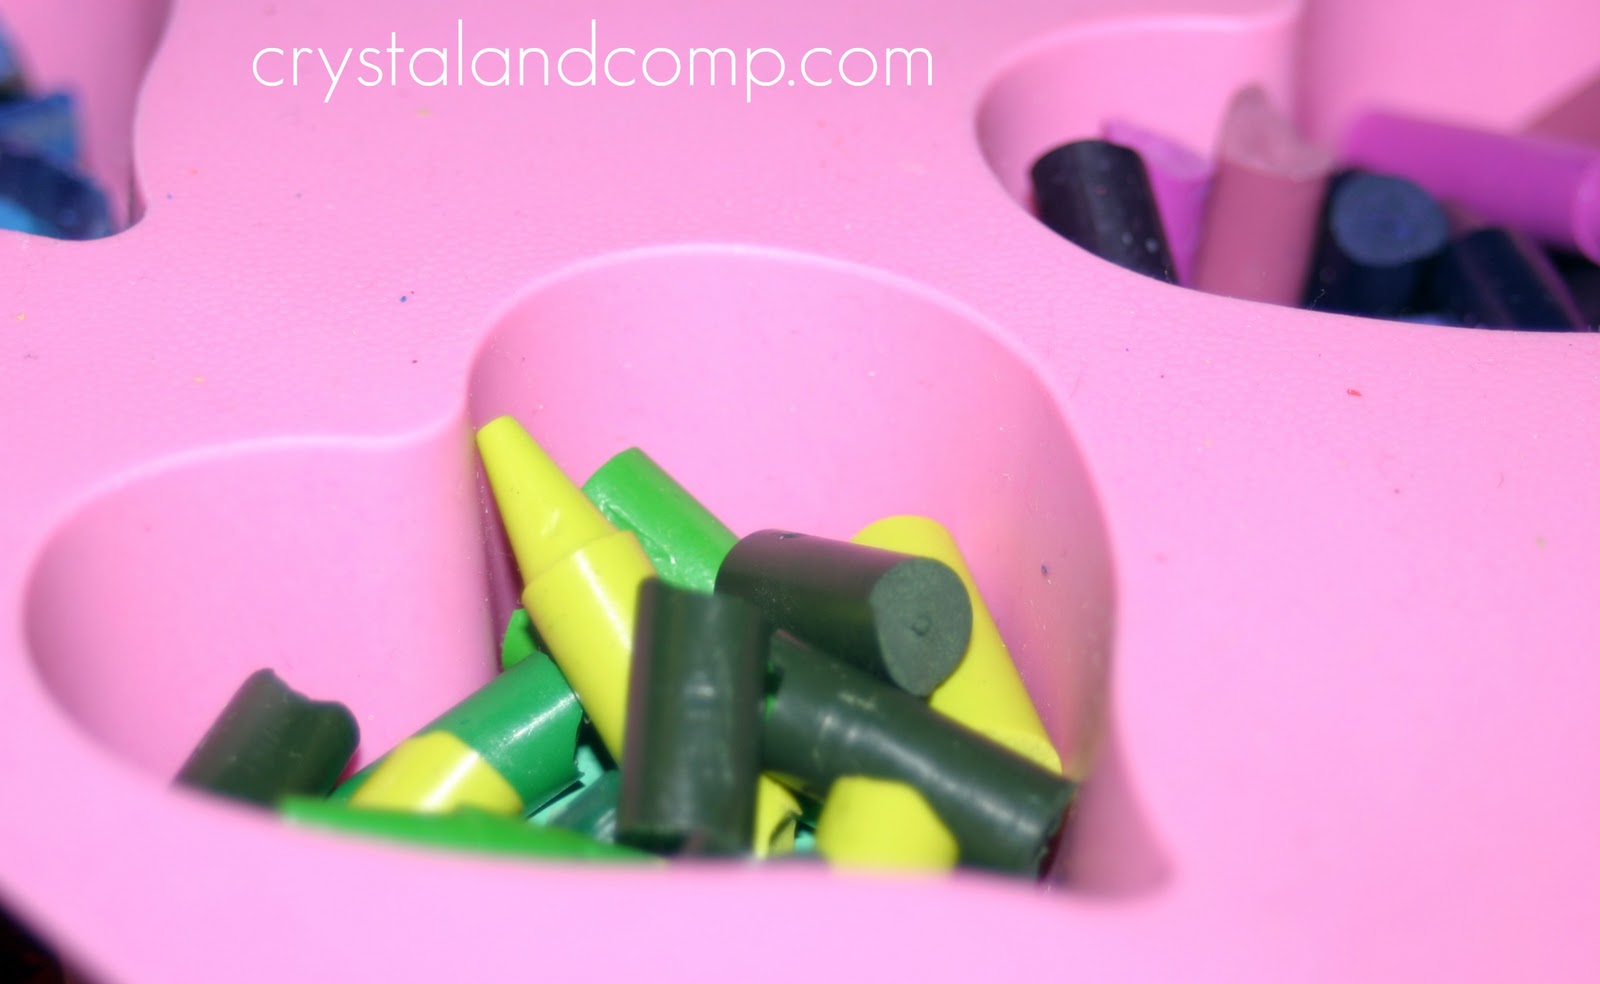
For this occasion, we are doing heart shaped crayons to celebrate Valentine’s Day.
First, peel the paper off the crayons.

Next, you can sort the crayons by color group, like I did, or mix them up and make confetti colored crayons. Both ways are super fun!


I will be sharing this project on these crafty sites.
I've seen this idea before but forgot about it. This was a great reminder. I think I'll get my daughter to help me with this project this week. And thanks for the tip about the heart shape silicone pans at Target.
Jennifer
Like Jennifer said, I always forget you can do super creative things with old crayons. Thank you for the inspiration! I would LOVE for you to link up to my Ten Buck Tuesday link parties!
http://www.youngnester.blogspot.com
These look great! and I love the "color your heart out" saying that you added. So adorable. Following you from tutorial Tuesdays. Please stop by my blog when you can. http://diyhshp.blogspot.com/
Thanks for the tip about not using the silicone ice cube trays. I'll be purchasing some silicone oven trays to try these soon.
Cheers,
Tracy http://allthumbscrafts.blogspot.com
I think I must have used ice cube trays too…good tip. Ended up baking in cupcake liners then using metal cookie cutters while they were still a little warm. Your edges look so much better (rounded) though. Thanks for the tutorial!
Jennifer- you can find so many crafty things in the dollar spot at Target! Love that store.
Lauren- thanks for sharing your linky party! I shared it on your site as well.
Jamie- isn't the color your heart out so cute? 🙂
Prairie Patch- yap, do not use the ice cube trays. I was shocked they melted and wax started pouring out of the container onto my cookie sheet.
SAHMmy- I really like the silicone cupcake pans. It made the crayons super smooth and they were so easy to pop out of the pan.
Love the idea! I especially like the way you packaged the crayon. So creative.
love this! Especially since I'm needing lots of snow-day activities around here! -diane
http://www.sweeteuropeandreams.com
Really cute- I love the color your heart out sign.
These turned out super cute! I love how you mixed your colors.
Hmmm. I used silicone ice cube trays (heart shaped) with the oven set at 150 degrees for about 15-20 minutes without a problem. Maybe mine are different?